Table of Contents
Level Editor - The Basics
Building a basic room:
The basic objects
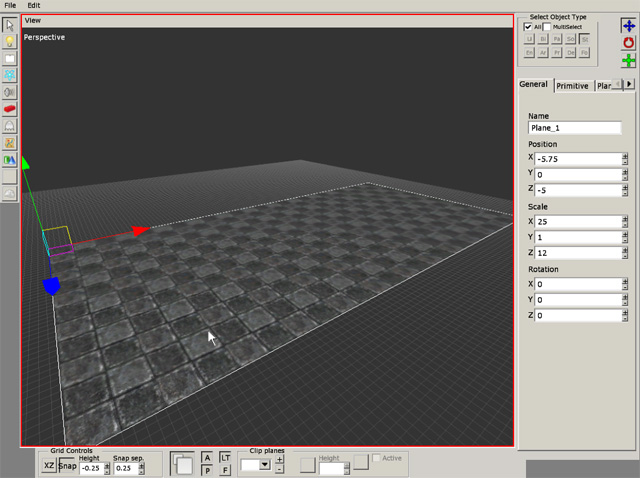
We will begin with building the floor of the level. Select the primitives tool in the toolbox. In the right tab you can now see that plane is the default selected primitive. This is the primitive we will use for our floor. Click the dotted button next to the material field to bring up the texture browser. Enter Static_objects/castlebase/ and select castlebase_tiledfloor.mat. Now click & drag an area in the perspective view to create your floor. Do not worry if the floor gets to small or too big, this can be changed after creation by selecting the primitive and changing its size values. The size of my floor is: X=25, Y=1 Z=12. It should look something like this:
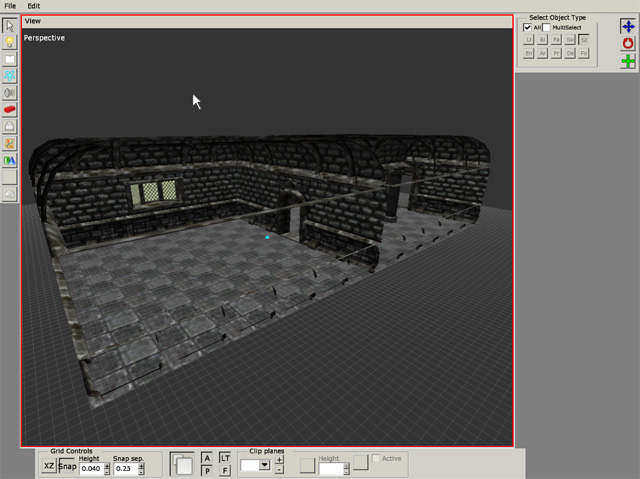
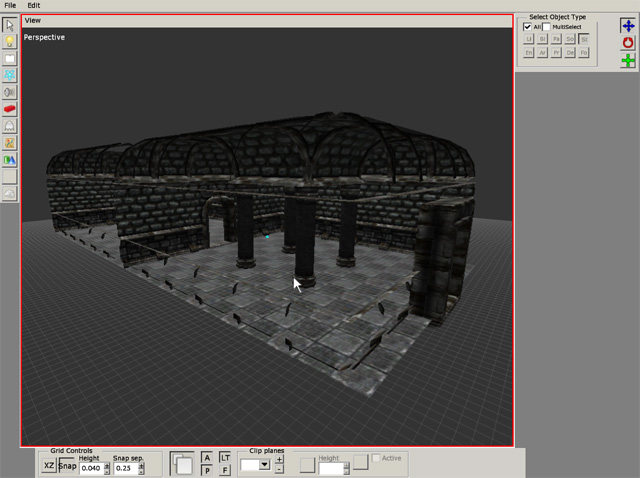
Now, once we have a floor its time to add the walls. Click the Static_objects button in the toolbox and select castlebase in the pulldown menu in the top-right side of the GUI . The list under the pulldown menu should now be filled with all the objects in the Castlbase set. Scroll through the list until you find a grey '- wall' tab. These are all the walls in the castlebase set. Select the 'default' wall and place it on the floor. Before placing the wall you can turn and scale it as you please. These values can also be changed after you've placed the wall. Look through the list and try to replicate the level you see in the pictures below. If you get stuck or get tired of experimenting with the different pieces you can use my tutorial file: (xxxxx.xxx) to continue.
Entities
Now we have a room but it does not look like much. It is time to add some detail. Click the entities button in the toolbox. On your rightside menu you can now choose between several kinds of entities. Select the door category and the castle_arched door. Place it in the middle doorhole and you now have a working door. Most of the door's characteristics are determined in the model editor, but you can change some minor options. You can find these option in the entity tab in the rightside menu (see below). However we will leave this one unlocked or it will make you unable to finish the level.
Select the level_door in the list and put it in the last doorhole. This is a special door and acts as a portal between levels. After it is placed you can input all the data needed for it to link properly in its entity tab.
Experiment with the the other objects in the list and try to replicate my room in the image below or build


