Sidebar
Table of Contents
DDS Texture Export
Overview
This tutorial will go through how to export a normalmap in the 3Dc format using the NVidia Texture Tools.
The pretty much the same pattern can be used to export a diffuse, specular, etc texture, but normal map has some extra stuff so using this in this tutorial.
Steps
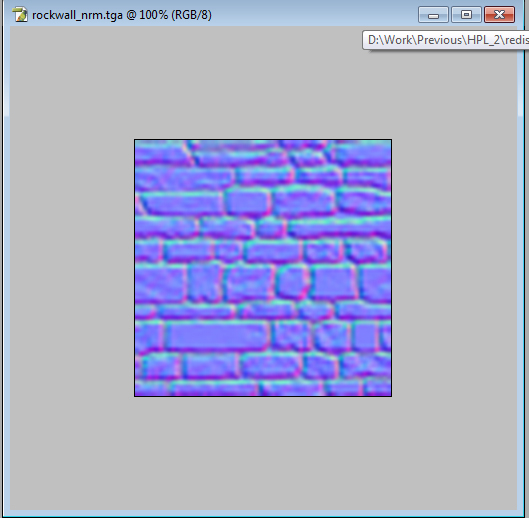
1) You texture
Here is the texture that we want to export as a DDS.
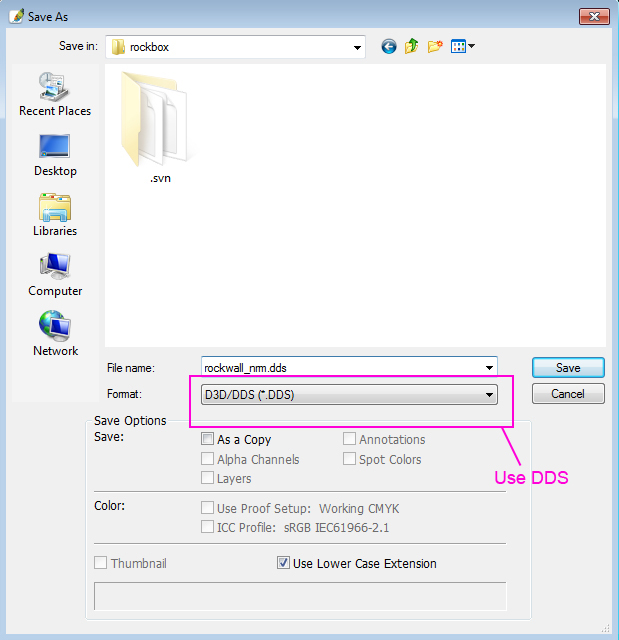
2) Save as DSS
Choose DDS as the format you want to save in.
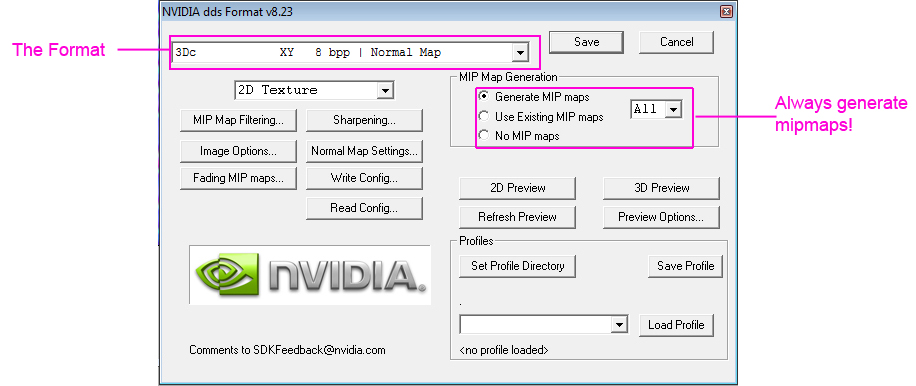
3) The Save dialog
Choose the format at the upper left of the dialog. Here we will choose 3Dc, which is the normalmap format the engine uses. For a color texture this would be DXT1 or DXT5.
Always make sure to generate the mipmaps when saving and make sure to have it set to “All”.
4) Mip map filers
The default box filter often gives subpar quality and the mipmaps, so good to choose something else to use for all images. “Catrom” is used here but there are others that work fine too. If the image has a lot of finer details it is worth to try a bit if it looks strange in-game.
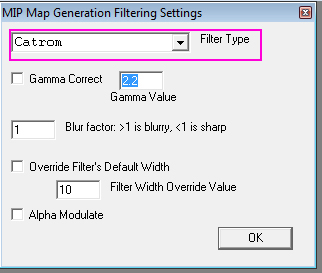
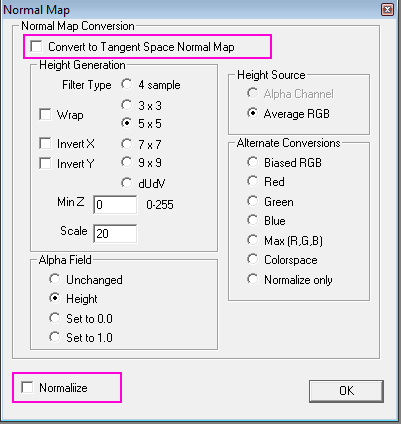
5) Normalmap settings
This is specific for normal maps. Simply make sure that all boxes are unchecked.
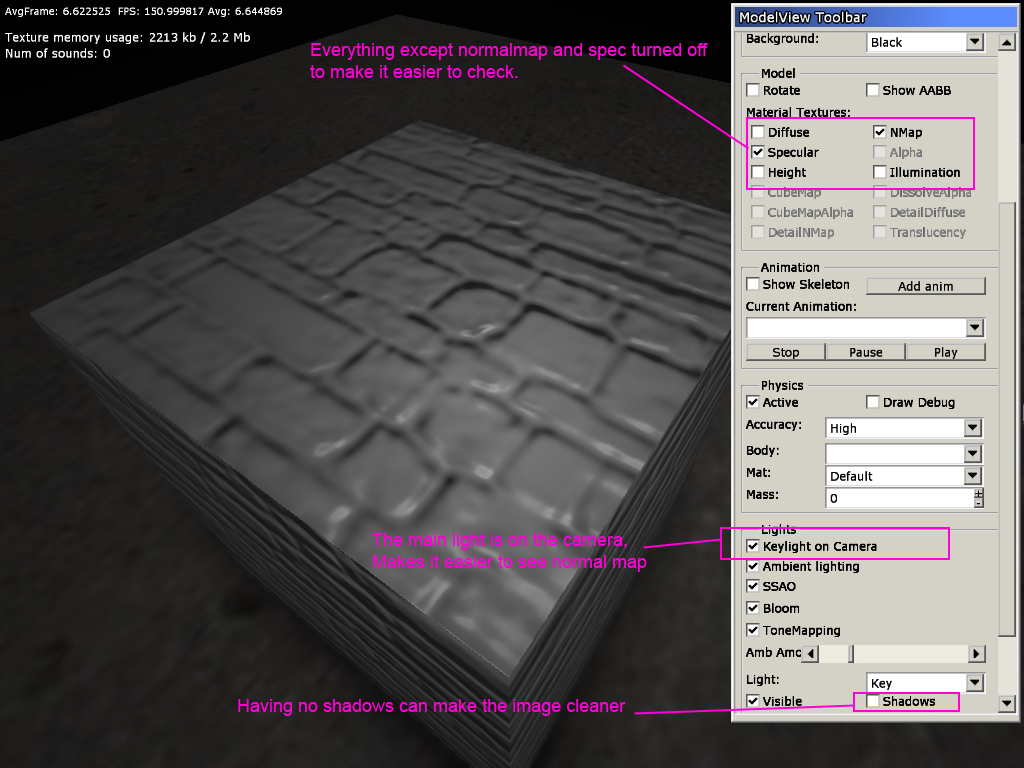
6) Check in the modelviewer
Once saved and exported, check so everything looks okay in the modelviewer. Having “keylight on camera checked” makes it easier to see the normals and turning of shadows can remove some jitter that the shadowing algorithm might produce.
Also make sure to turn off all texture except specular and normalmap to makes sure the normalmap looks okay.
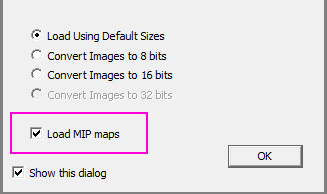
7) Loading normal map
This step and the next one is not really needed but might be good just to see it is generated properly!
First, when loading the texture make sure that you load the mipmaps aswell!
8) The loaded image
DO NOT SAVE THIS IMAGE!
Especially for normalmaps, the image you just loaded cannot be save.
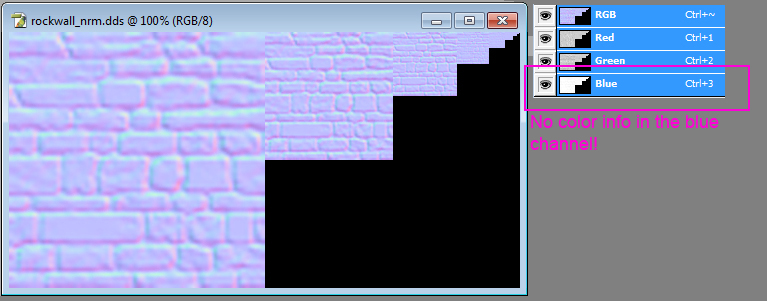
You can see in the image that all mipmaps have been generated and you can also see that the Blue channel contains (almost) no information (what is there is due to the compression technique used)!
Cubemap Export
Overview
This tutorial will go through downscaling and exporting of cubemaps to make sure that borders stay correct.
Steps
1) Your texture
Place each of the cubemap sides on its own layer and place them after each other in a row. The image width should be 6 times larger then the height. The sides should be placed in the following order: Right, Left, Top, Bottom, Front, Back

2) Downscale the image
If your image is to large in size it is a good idea to downscale it. Place each side on its own layer.

Select Image > Image Size…

3) Save the image
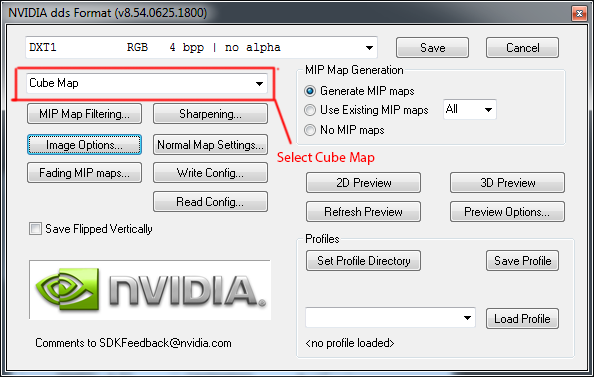
Select “Cube Map” as the image type and then follow the steps in the DDS Texture Export tutorial
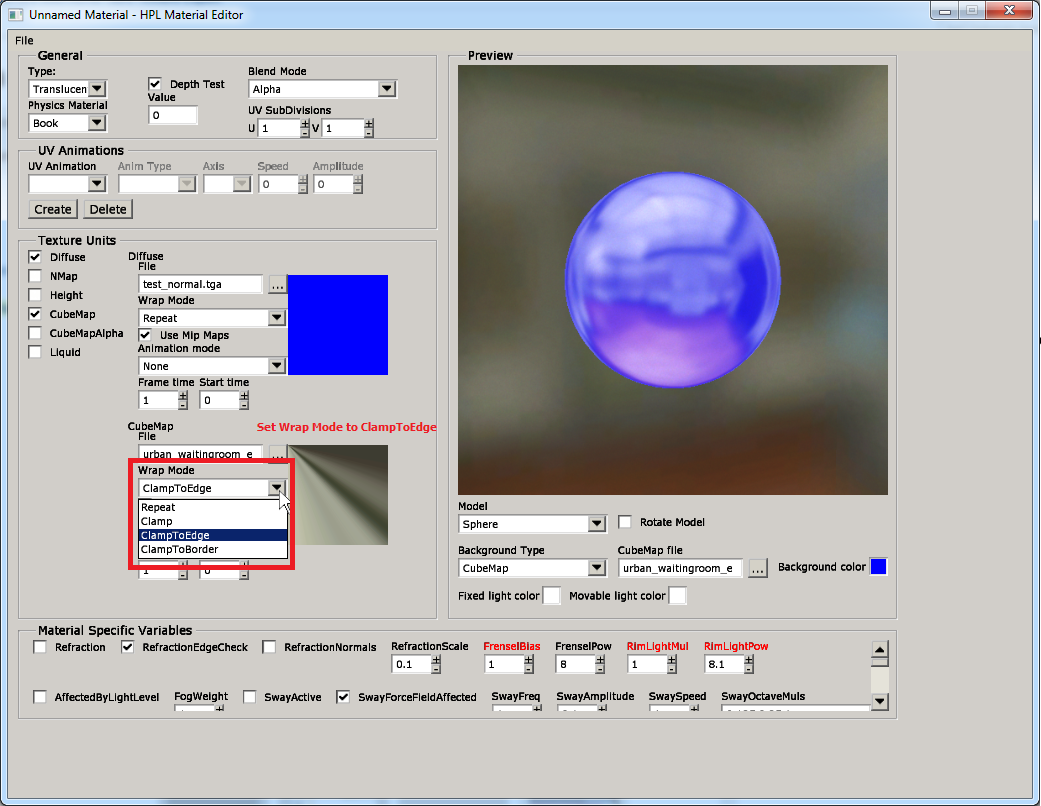
3) Set correct Wrap Mode
After setting the cube map to a material select ClampToEdge as the Wrap Mode. This will remove all edges.
